How to Annotate a Screenshot on a Mac
Annotate with built-in Markup
Every Mac already ships with an annotation layer called Markup. There are two ways in.
Right after you take a screenshot
- Capture with
⌘⇧4(area) or⌘⇧3(full screen). - A thumbnail floats in the bottom-right corner for a few seconds. Click it before it disappears.
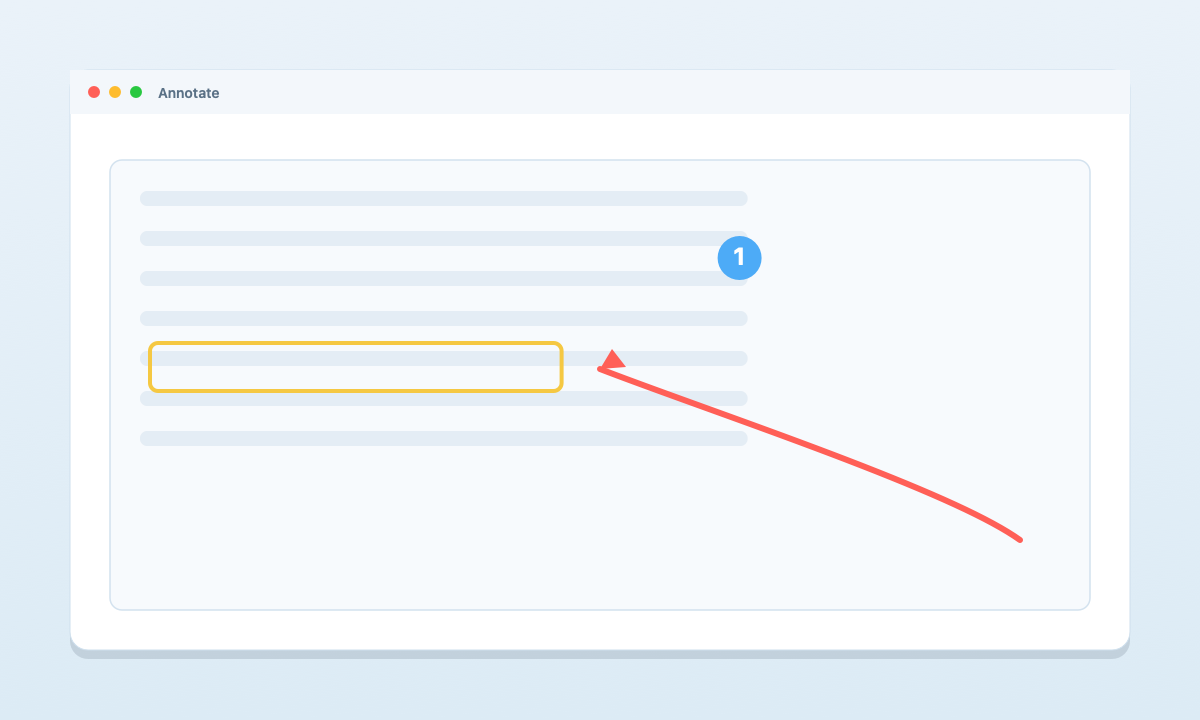
- The Markup toolbar opens. Use Sketch and Shapes to draw a line, arrow, rectangle, or oval; Text to type a label; and the highlighter-style pen for emphasis.
- Click Done, or drag the image straight into a message.
Any image, later, in Preview
- Double-click the saved
.pngto open it in Preview. - Click the Markup button in the toolbar (the pen-tip icon).
- Draw shapes, add text boxes, and change the line colour or thickness from the same toolbar. Save with
⌘S.
That covers the basics: a rough arrow, a rectangle, a bit of text. For a one-off "look at this button," it's genuinely enough.
Where the built-in tools fall short
The moment you're annotating for someone else — a bug report, a how-to, a design note — Markup starts to feel thin:
- No numbered steps. Walking someone through "click here, then here, then here" means typing 1, 2, 3 into separate text boxes by hand and keeping them straight yourself.
- Arrows don't snap. You're free-dragging every arrowhead and eyeballing where it lands, so it never quite points at the word or button you mean.
- Redaction is a trap. There's no blur. To hide an email or a token you drop a black rectangle over it — but that's a movable object, and anyone who opens the file can slide it aside and read what's underneath.
- It's slow to reach. The corner thumbnail vanishes in a few seconds; miss it and you're hunting the file down and reopening it in Preview.
Annotate faster with ScreenDrafter
ScreenDrafter is a native Mac screenshot app whose editor is built for exactly this. Instead of a fading thumbnail, every capture drops straight onto a FigJam-style canvas with the annotation tools already in reach.
- Capture with
⌘⇧2(area) or⌘⇧1(full screen). The editor opens on the shot immediately. - Draw arrows that snap to text. Pull an arrow toward a word or button and it locks onto it, so it always points at the right thing. Add boxes and highlights the same way.
- Drop numbered steps. Click where each step goes and ScreenDrafter drops 1, 2, 3… badges in order — perfect for tutorials and bug reports.
- Blur to redact. Drag the blur tool over any email, name, or token; the pixels are baked in, so there's nothing to slide aside later.
- Copy or save. Copy the annotated image to your clipboard, or save it with a filename ScreenDrafter suggests on-device.
Why it's private: capture, OCR (so arrows know where the text is), naming, and blur all run on your Mac with Apple's Vision framework. Nothing is uploaded, there's no account, and it works with your Wi-Fi off. There's a free 30-day trial, then it's a one-time $9 — no subscription.
Comparison at a glance
| Feature | macOS Markup | ScreenDrafter |
|---|---|---|
| Arrows, boxes, text | Yes | Yes |
| Arrows snap to text | No | Yes |
| Numbered step badges | No | Yes |
| Blur / real redaction | No — movable rectangle | Yes — baked in |
| Editor opens on capture | No — fading thumbnail | Yes |
| Private / on-device | Yes | Yes |
Annotate screenshots the fast way
Free for 30 days, then a one-time $9 · ~3 MB · no account. Your Mac, your data.
Get ScreenDrafter for MacFAQ
How do I draw on a screenshot on Mac?
Click the thumbnail that appears in the corner right after you capture to open Markup, then use the Sketch and Shapes tools — or open the image in Preview and click the Markup (pen-tip) button. For arrows that snap to text, numbered badges, and one-drag redaction, ScreenDrafter opens an editor automatically after every capture.
How do I blur or redact part of a screenshot?
macOS Markup has no blur — you have to cover the area with a black rectangle, which the recipient can select and drag aside to reveal what's under it. In ScreenDrafter you drag the blur tool over any email, name, or token and it's pixelated into the image, so the original content is gone for good.
How do I add numbered steps to a screenshot?
The built-in Mac tools have no numbered badges, so you'd type each number into its own text box by hand. ScreenDrafter has a numbered-step tool: click where each step belongs and it drops 1, 2, 3… automatically, keeping tutorials and bug reports in order.
Related: Name screenshots automatically on a Mac → · How to screenshot on a Mac → · more ScreenDrafter guides →